Being Our Own Superhero: Recycled Art Workshop
Cathy G. Johnson
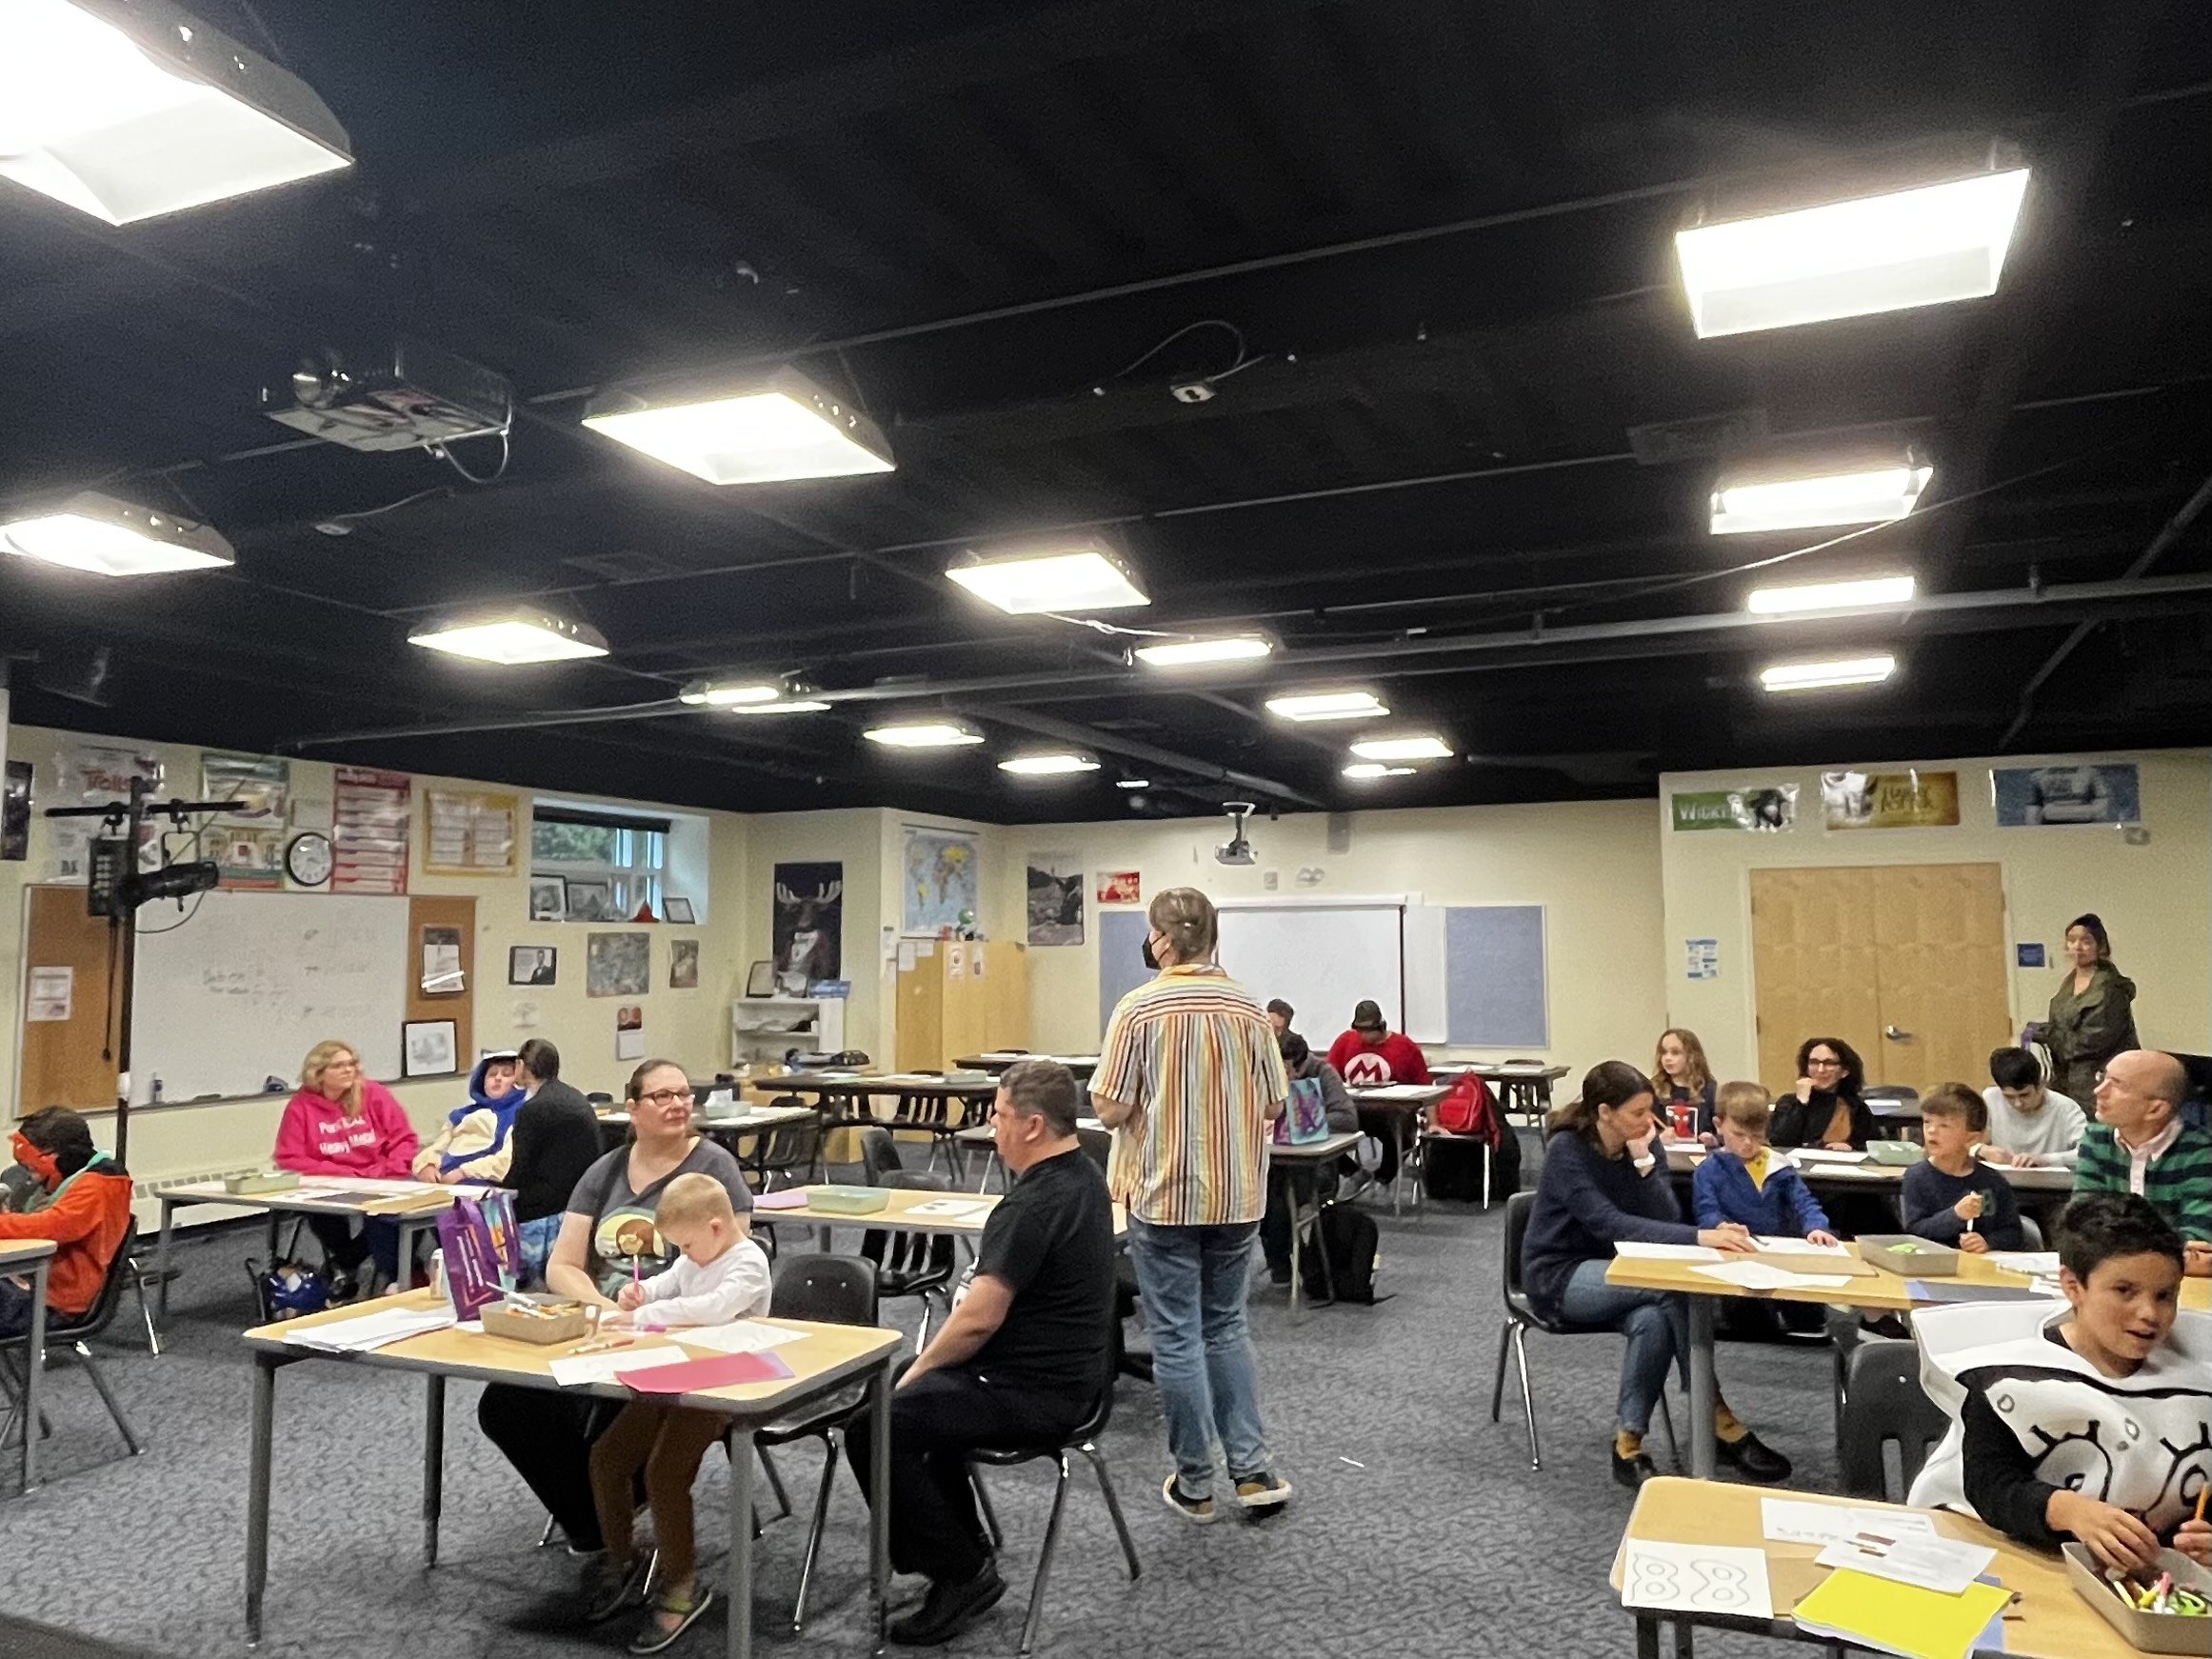
On October 21, 2023, I had the pleasure of teaching two workshops at Calmer Con, which is a sensory-friendly comics and pop culture convention designed to accommodate the needs of autistic attendees and those with sensory processing and anxiety concerns. I wanted to design a class with accessibility in mind, as well as gain the experience in an accommodating space. After talking with the director of the convention, I chose to adapt an activity I developed on my YouTube channel.
You can learn more about this event and workshop in the November 2023 episode of my podcast, Drawing a Dialogue.
Lesson Plan
In this all-ages workshop, students will have the opportunity to brainstorm their own superhero identity, design a symbol, then create a simple cardboard + paper costume.
Materials
Cardboard
Markers
Scissors
Pencils
Colored Paper
String or Yarn
Gluestick or Bottle Glue
Holepunch
Steps
Step 1: Brainstorm Your Own Superhero (worksheet)
On a worksheet, brainstorm your own superhero identity by answering the questions.
Powers?
Colors?
Name?
Shape?
Backstory?
Example 1: Spiderman
Powers of the spider, colors red and blue, name Spiderman, shape is a circle/spider, backstory is he was bitten by a spider.
Example 2: Batman
Powers are intellect and martial arts, colors black and yellow, name Batman, shape is an oval/bat, backstory is he is a detective seeking justice.
Step 2: Design your symbol
Superheroes wear symbols that represent them on their chest. In the blank space on your worksheet, sketch your ideas for a symbol for your character.
Can be a picture, shape or letters!
Start with your shape.
Add onto it with drawing, letter or both.
Step 3: Cardboard
Now that we brainstormed our new superhero, we are going to start making our costume. We will start with a piece of cardboard that will become a symbol we will wear around our necks.
Freehand draw your shape on the cardboard. Start towards the edge, making it as big as the cardboard piece (about the size of a regular piece of paper).
Cut out the cardboard shape. You may have help from an adult.
Step 4: Colored Paper
Trace cardboard shape on colored paper
Draw the picture, shape or letters from your symbol design on the colored paper.
Cut out your colored paper design.
Keep decorating! Draw on your shape. Pencil sketch first, then marker details.
At the end of this step, glue your colored paper to your cardboard shape.
Step 5: String
Cut two diagonal slits into the top of the cardboard.
Tie the end of your string together (string should be at least a yard long).
Now you can wear your symbol around your neck!
Step 6: More costume pieces!
Using the materials we have, what are other fun things you can make for your costume?
Ideas include:
Wrist cuffs
Eye masks
Headband
A full classroom!


